Connector Quick Start
Start Connector
Unpack the distribution and run the start script located in the installation bin directory.
LINUX
./connector
WINDOWS
./connector.bat
Login to Connector
Once the Connector has started, navigate to the Admin UI and login with the default username and password, admin/admin:
Configure Connector
Follow the description and instruction in the Basic Configuration Menu to configure the mandatory settings.
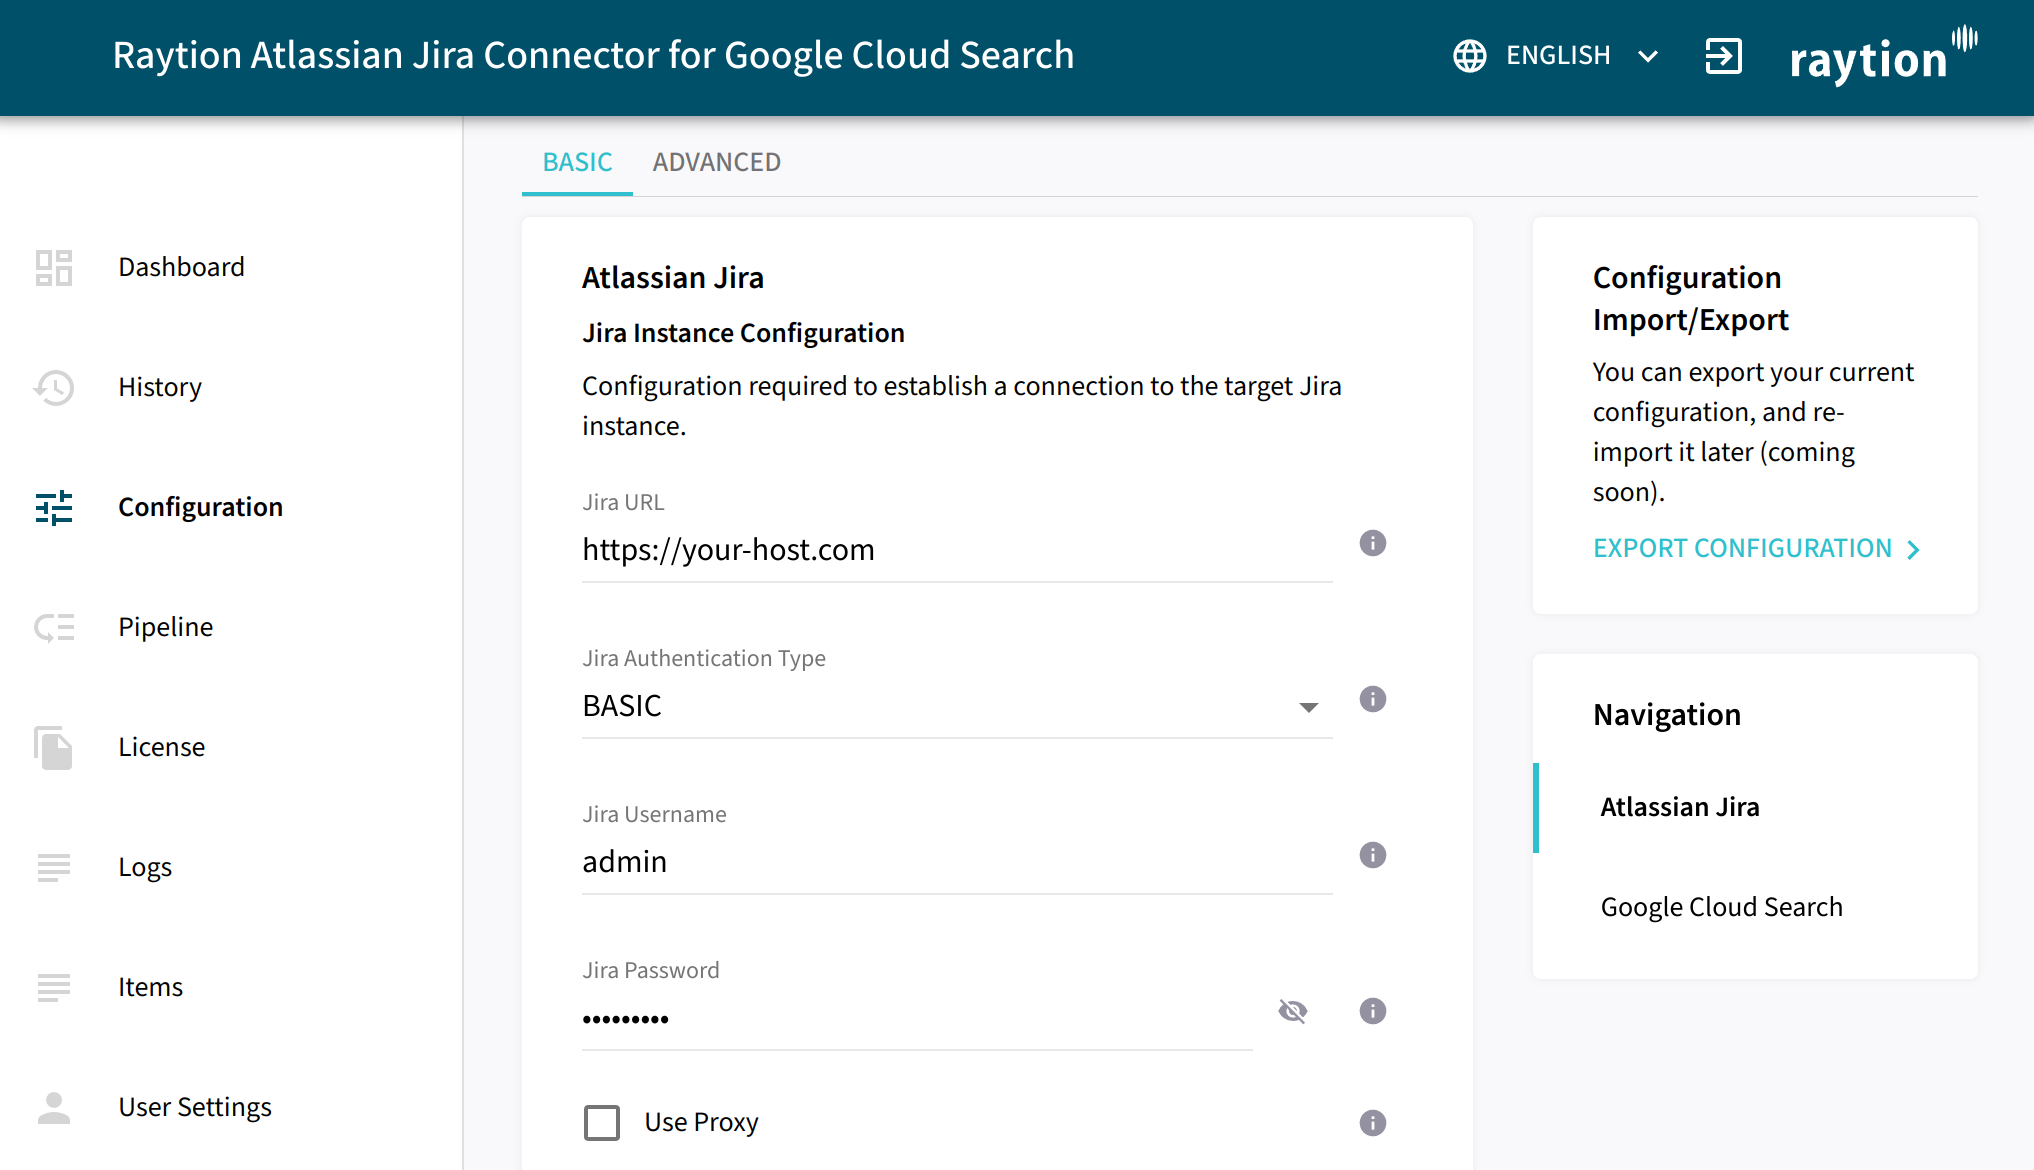
Atlassian Jira Configuration
-
On the left select "Configuration"
-
On the top select "BASIC"
-
Navigate to the "Atlassian Jira" section
-
Point "Jira URL" to your Atlassian Jira instance.
-
Set "Jira Authentication Method" to "BASIC".
-
Fill "Jira Username" with the user that was configured in the plugin.
-
Fill "Jira Password" with the password for the user.
-
Click on "VALIDATE" and "SAVE"
| It is recommended to use a personal access token instead, check the full configuration guide on the details. |
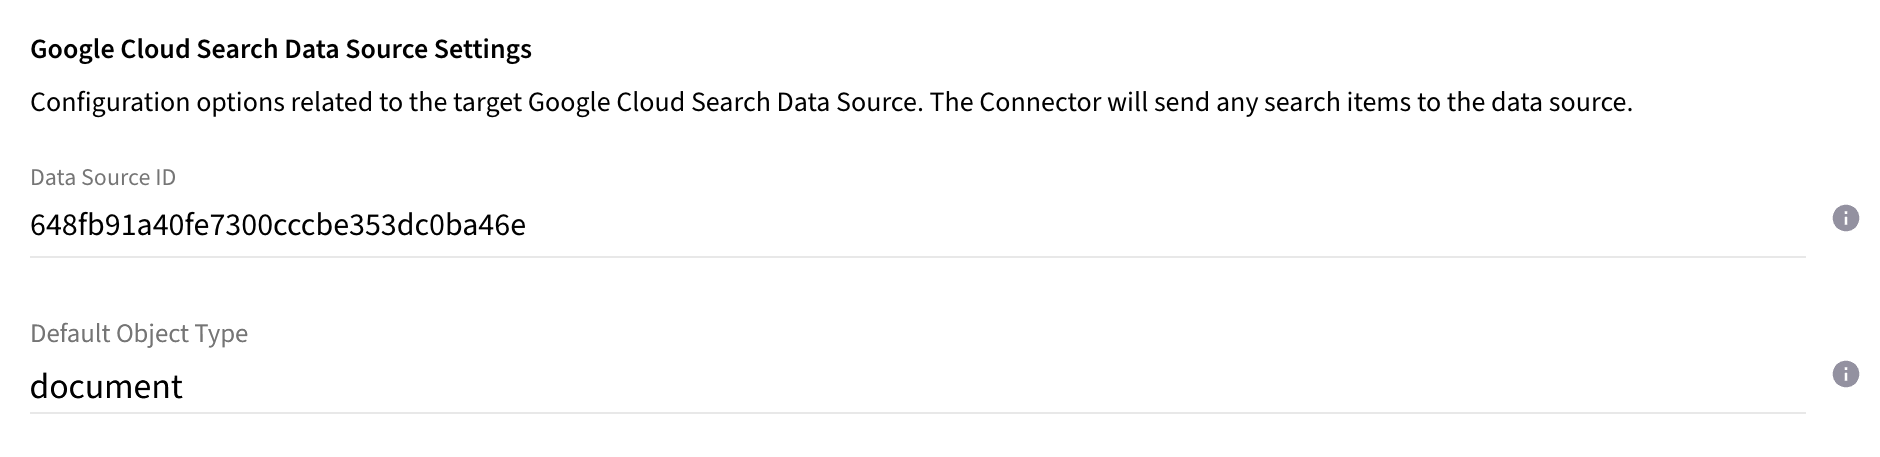
Google Cloud Search Configuration

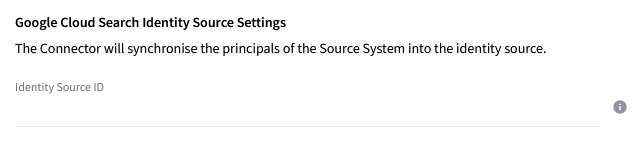
Google Cloud Search Data Source
-
If you followed the step Google Cloud Search Quick Start - Create Data Source Schema, this is the default value assigned as object type to a document to specify the object type from a schema. It is applied when no meta date
objectTypeis present at a document. The value has to be set to the object name of the schema set for your Data Source. The value can be retrieved fromschema.objectDefinitions.nameinside your schema Json file or payload.*
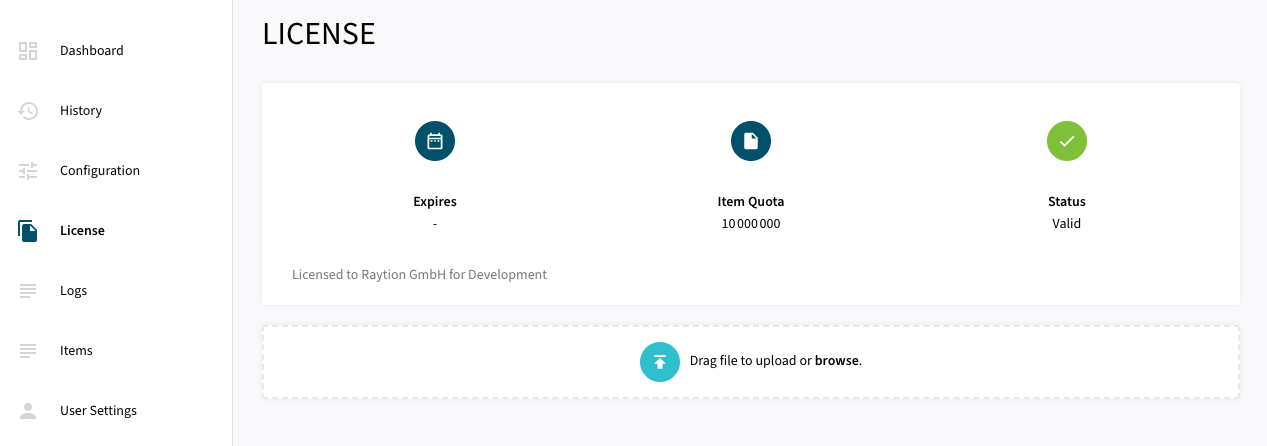
Upload License
-
Contact Raytion and obtain a license for your connector
-
Login to the Admin UI
-
Select License in the menu:
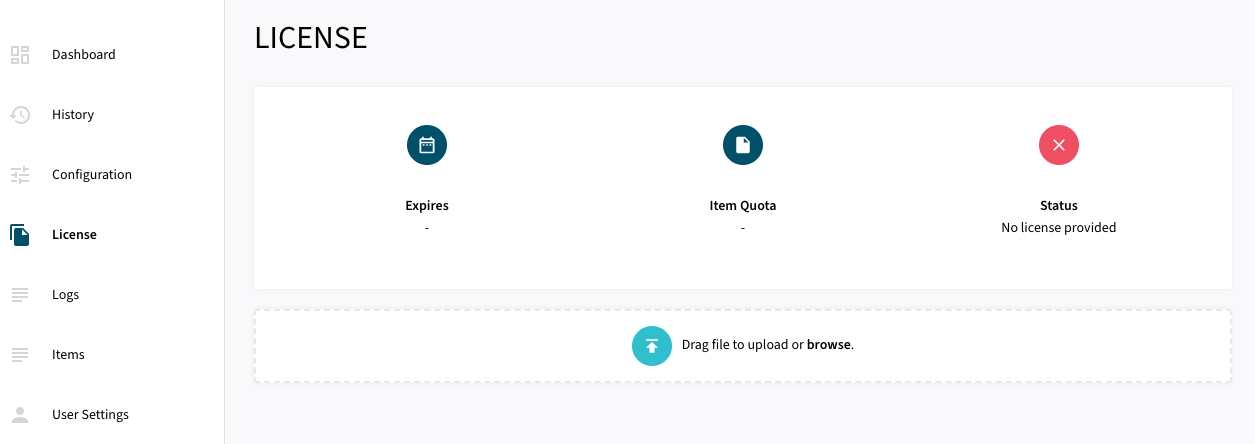
-
Upload the license file by browsing for the file or simply dragging a dropping the license onto the license page
-
The Status of the license will be displayed as valid, and the expiration and item quota will also be displayed:
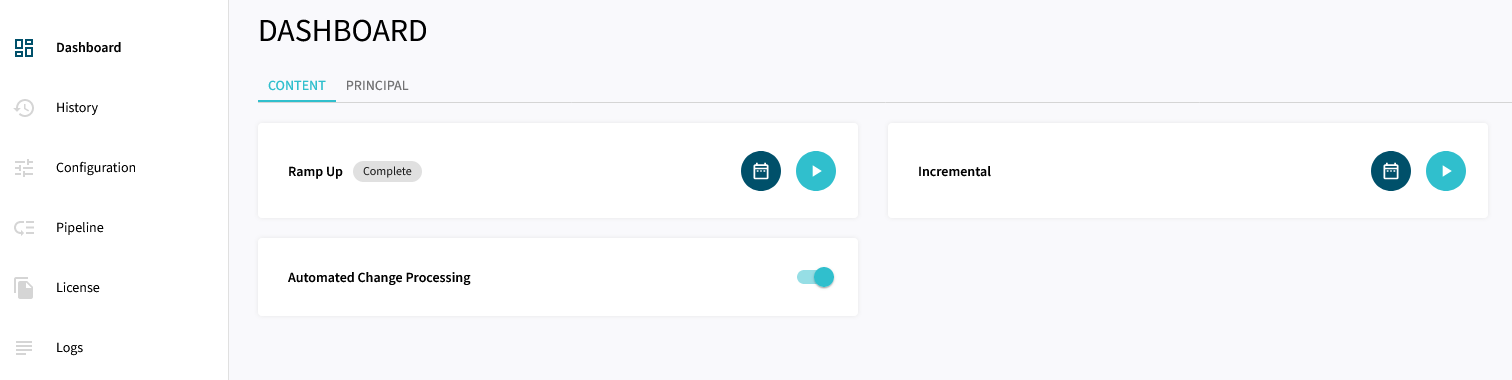
Synchronizing Data
Once the connector is configured and the license uploaded, you can start synchronizing data using the traversal feature in the dashboard.