Confluence Cloud
Quick Start
Authenticate via API token
To start the connector, an Atlassian Confluence Cloud user account is needed for authentication. Both authentication with an API token and OAuth2 are supported. For a detailed step to step guide to the configuration of OAuth2 please refer to this configuration page.
-
Log into your Atlassian instance using your technical account. The generated API token enables the connector to read all documents that the technical account has access to. Therefore, the technical account must have access to all documents, which should be crawled.
-
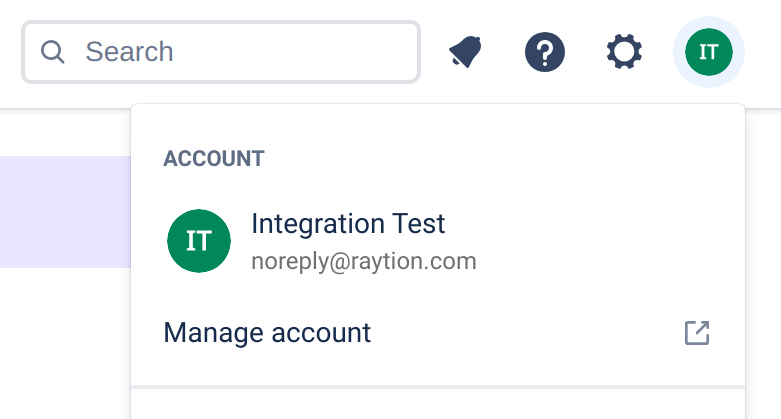
In the top right, click on your profile picture
-
Click on "Manage Account"
-
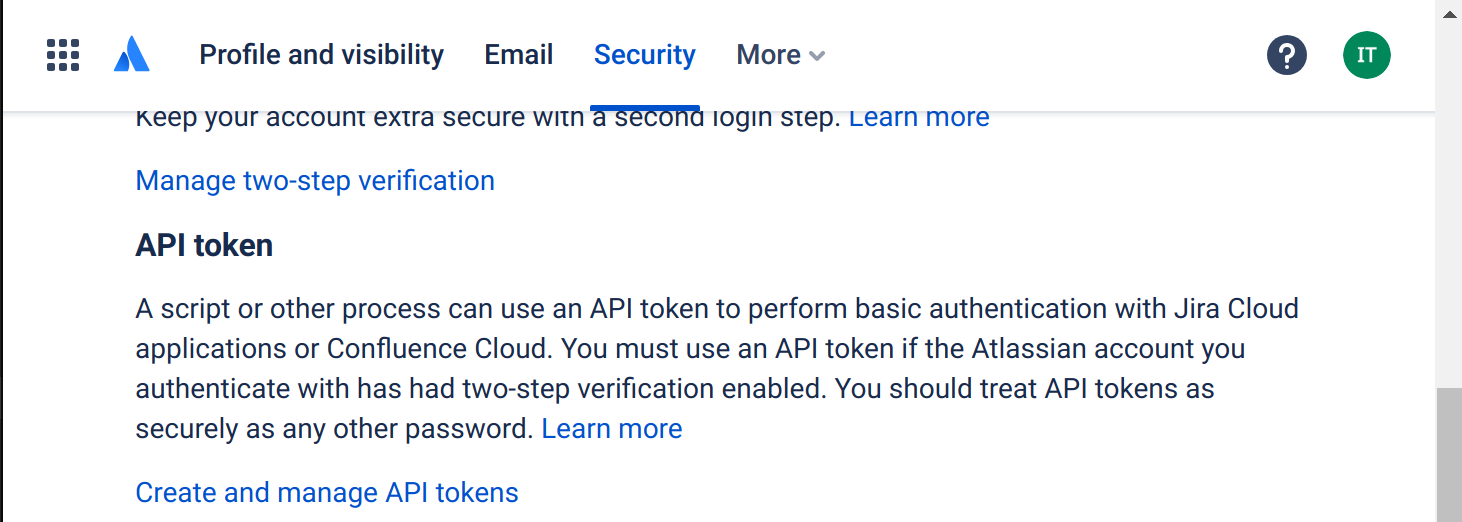
Click on "Security"

-
In the "API token" section, click on "Create and manage API tokens"
-
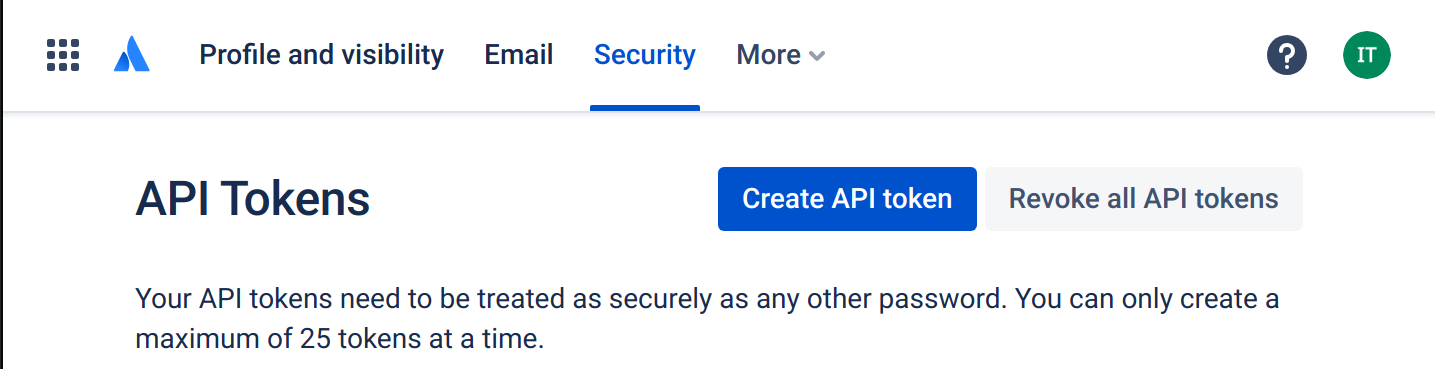
Click on "Create API token"
-
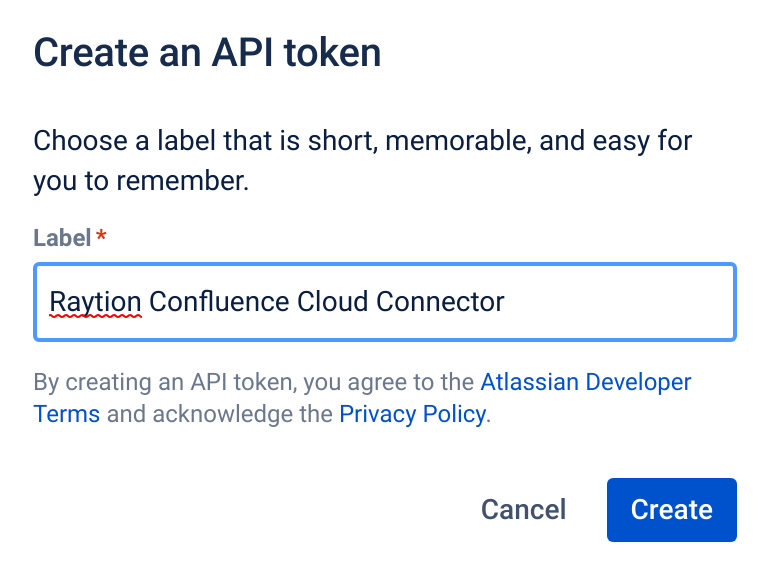
Choose meaningful label and click "Create"
-
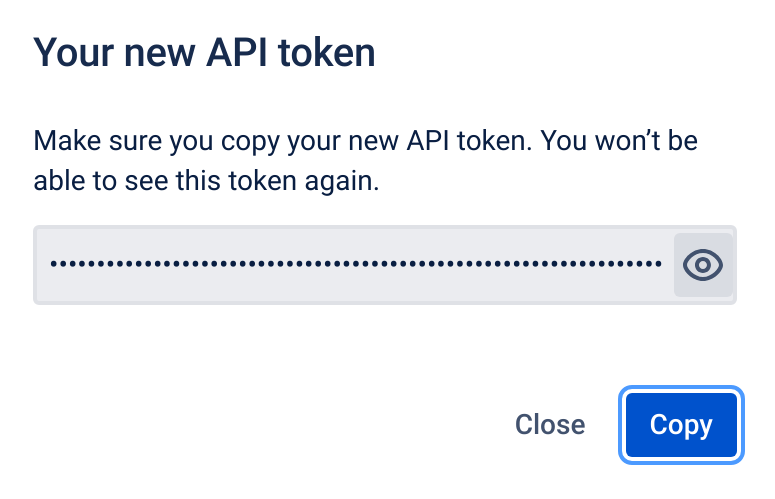
Click on "Copy" or the eye symbol and copy the API token manually. Then click on "Close"
-
Your new API token will show up in the summary table. If exposed, you will also be able to revoke single tokens by clicking "Revoke" on the entry and then confirming once more.

You will need the user email address and the API token for the connector configuration.
Export all active users
| In the user settings users have the option to restrict access to their email addresses. Doing so might lead to the email address not being accessible by the technical account via the API. This means, that permissions for these users cannot be resolved by the connector. Users without these permissions will then only be able to search public documents. To address this issue, a CSV file, which maps user IDs to their email addresses, can be provided by the admin. |
To ensure, that all currently active users can receive their respective access permissions, follow these instructions.
-
Log into admin.atlassian.com using an account with admin privileges.
-
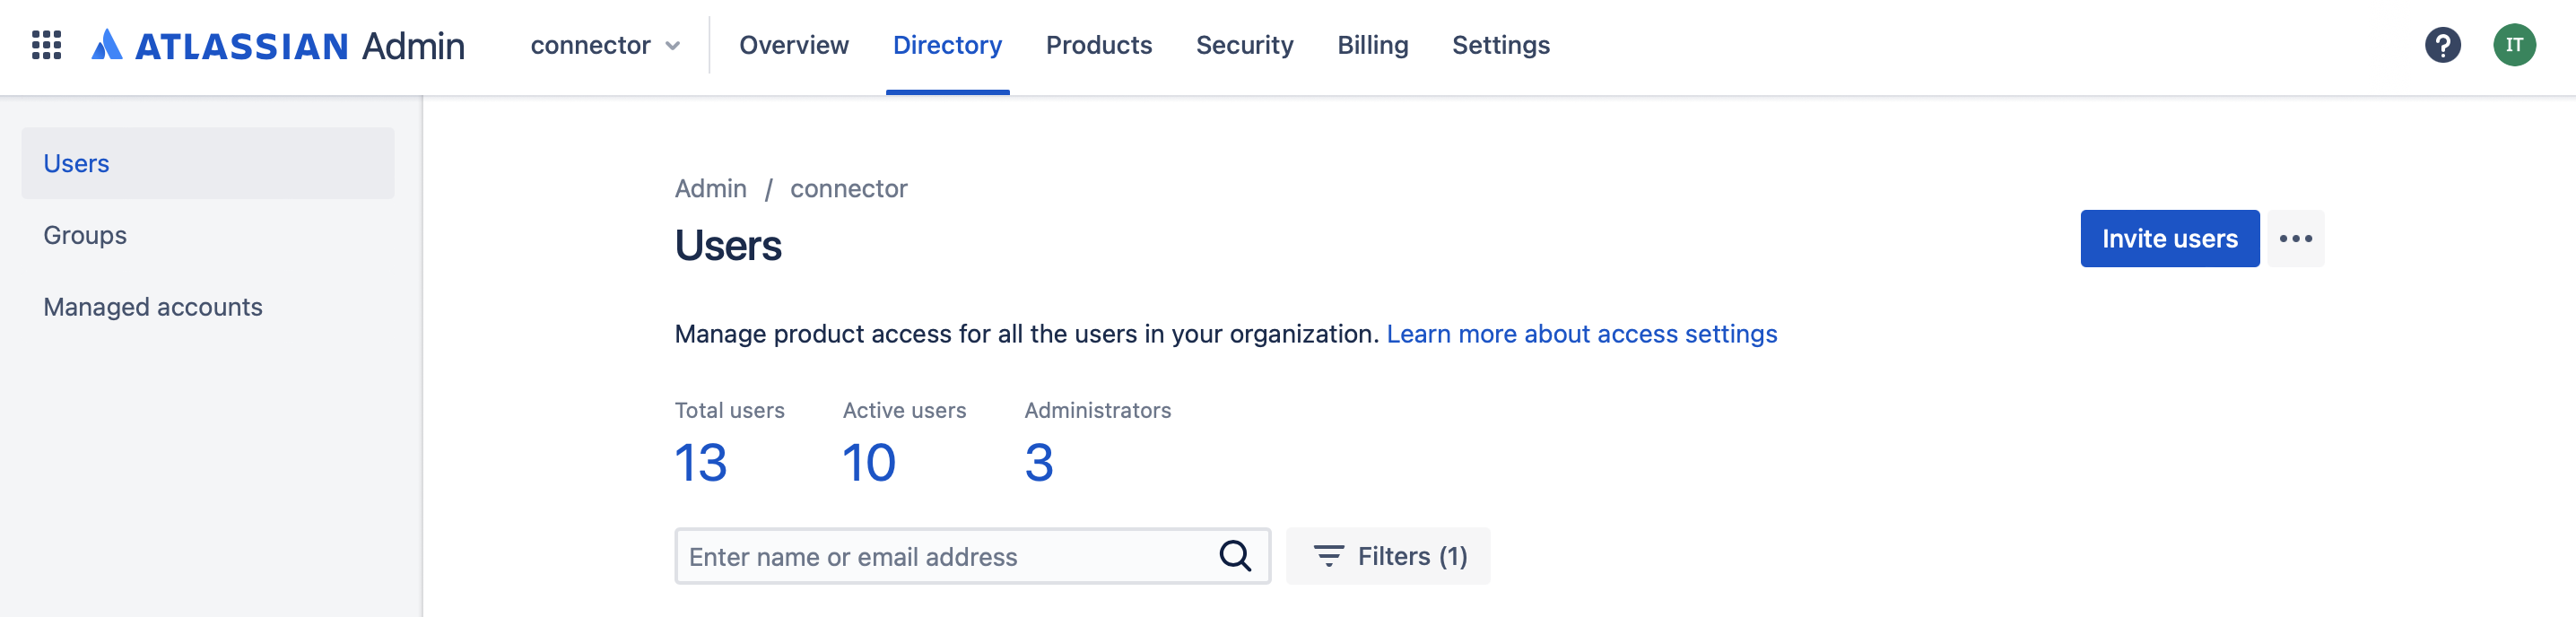
Click on the middle pane "Directory" and then "Users" on the left.
-
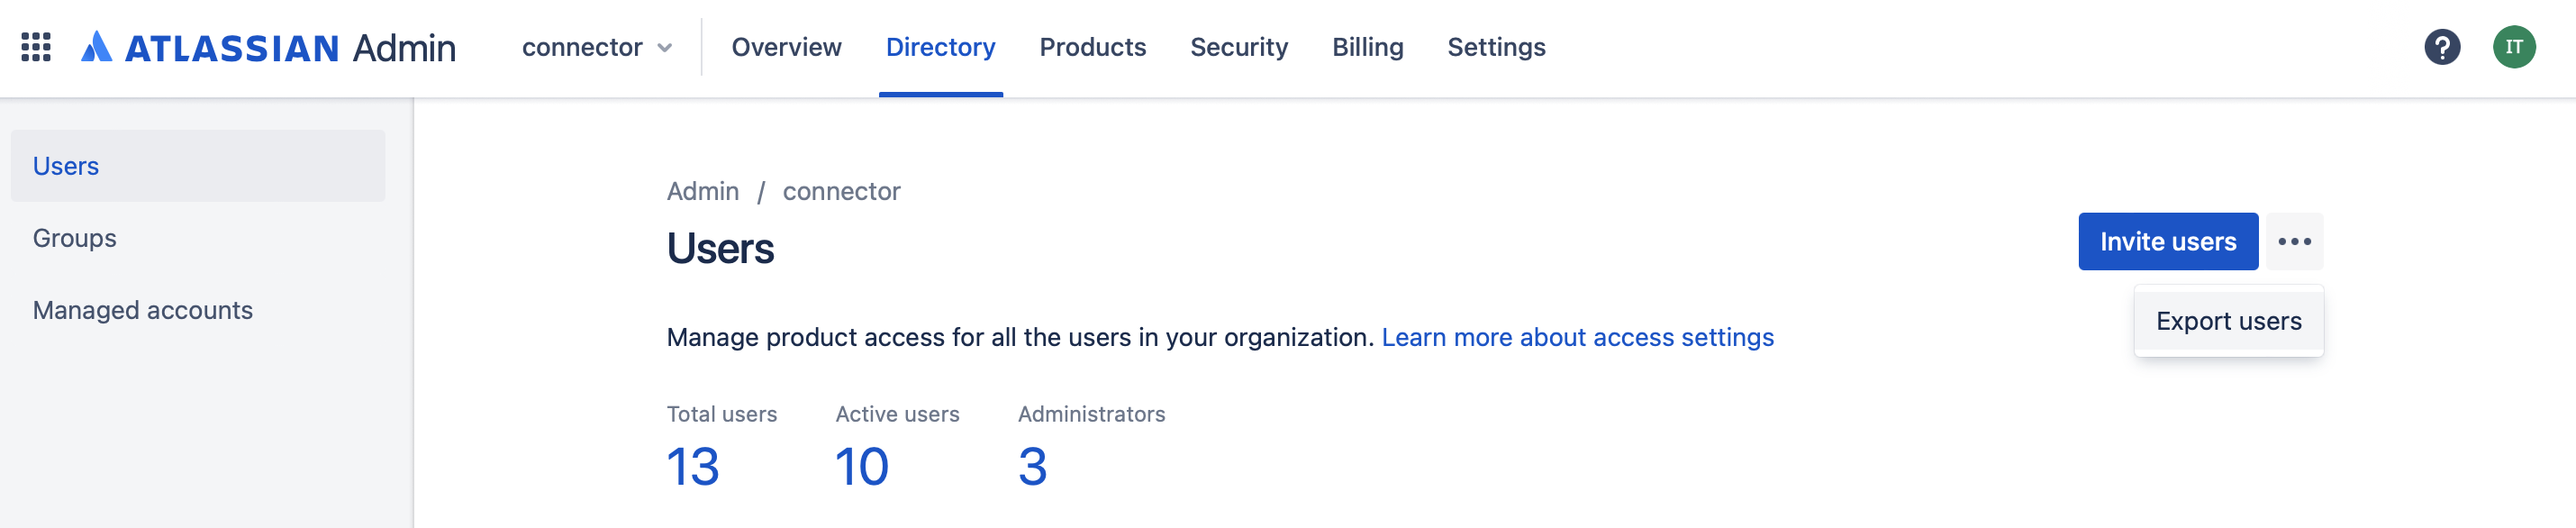
Click on the three dots next to the button "Invite Users". The button "Export users" will appear. Click it.
-
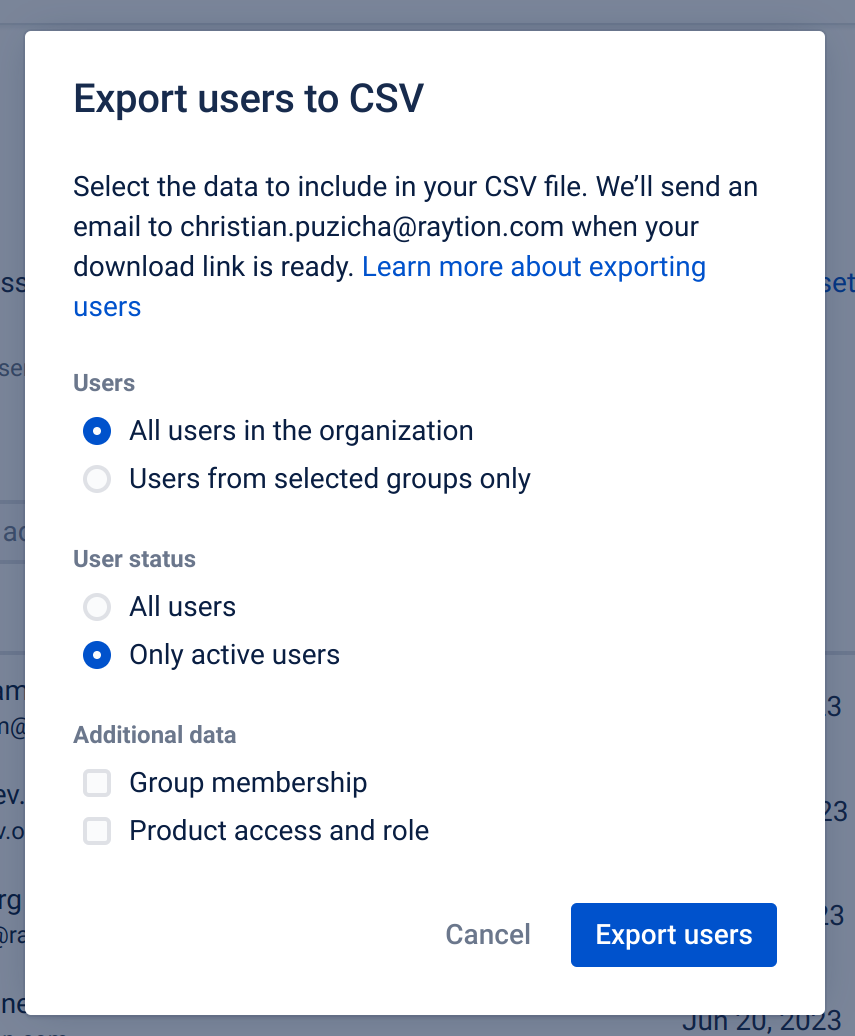
A pop-up will show. Check "All users in the organization" (default) and "Only active users". Do not add additional data. Proceed by clicking the blue button "Export users".
-
An email will be sent to the admin. Open the email and click the download link. Save the .csv file to a location, which can be accessed by the connector.
-
The user .csv file should be updated regularly to capture newly added active users.